My lovely girl has decide to take Cookery as her GCSE exam, but at school she struggles. She cannot eat wheat and although the school have said they will accommodate this, they don’t really know how to use Gluten Free flour and so she is frustrated and feels she is no good at cooking.
When really all that is the matter is that she needs to be taught how to cook with Gluten Free flour as opposed to just following a wheaten recipe and subbing in the Gluten Free flour – mostly that doesn’t work, allowances have to be made.
Anyway, so I wanted to help her see she is very capable. SO we set about making this tart with a few fresh organic(!) ingredients I was able to pick up at the market on Saturday.
It all turned out fab, not only did it give her a little boost, we all got a lovely late breakfast – perhaps not a perfect nutritional balance – but utterly joyous!
I hope you all like it
😀
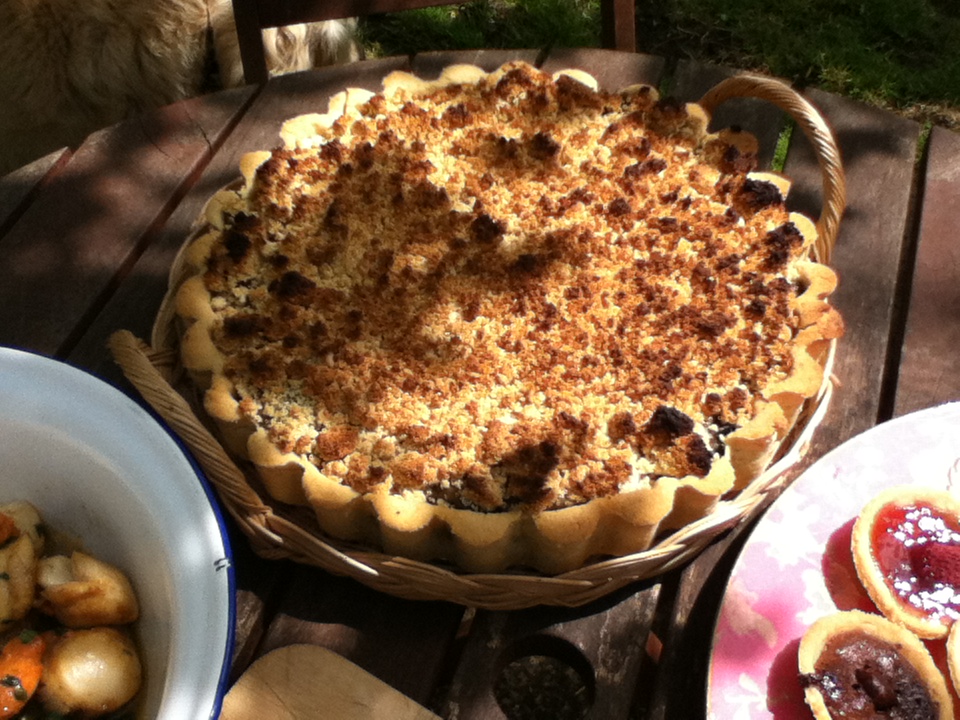
Mushroom & Wild Garlic Tart with Chestnut Crumble.
Filling
120g/4oz wild garlic
3 tbsp olive oil
2 onions, finely diced
2 cloves of garlic pressed
6 portobello (field) mushrooms, diced
Pastry
500g/1 lb Gluten Free plain flour
½ tsp sea salt
250g/8oz sunflower margarine at room temperature
75g/2½oz/heaped ½ cup sunflower or pumpkin seeds, finely chopped
250ml/10fl oz water with 1 tsp ground linseeds soaked in it
Tofu filling
400g/14oz tofu, patted dry
30ml/2 tbsp olive oil
40ml/3 tbsp lemon juice
1½ tsp sea salt
1½ tbsp dried thyme
1½ tbsp dried tarragon
1½ tbsp nutritional yeast (Engervita B12 is the one to find)
3 tbsp cornflour
Crumble
250g/8oz Chestnut flour
125g/4oz Cashew nuts
90ml/3 floz olive oil
Set the oven to 190°C/375°F Gas5
Make the pastry. Super simple to make this. Blitz the marg, salt and flour together until it is crumby. On a slow speed pour in the water and it will form a ball.
Use this to line a 29 cm flan case. When you roll the pastry do not worry that it break, there is not gluten so you can easily patch this pastry as you would when you were little playing with playdough. It will not suffer at all for it. It does not need to rest or be chilled as there is not stretchy gluten to make it misbehave. Line it with the parchment paper, fill with baking beans and bake for 35- 40 minutes until it is set.
To make the Tofu filling, process all the ingredients together in the food processor and set aside.
To make the Filling, heat a frying pan over a high heat. Add the oil and cook the onions until they are starting to colour. Drain from the pan but leave in the oil and then fry the diced mushrooms until they brown too. Add the garlic and wilt in the chopped wild garlic. Tip in with the onion and set aside.
To make the crumble just blitz the ingredients until they make a nice crumble, set aside.
Take the case from the oven.
Mix the tofu and filling parts together and pour into the case. Top with the crumble and return to the oven for another 20 minutes until it is nice and brown.

You can serve it hot, warm, cold or chilled. We had it on it’s own (with a side of fresh fruit jam parts made from the scraps of pastry and a loaf of Fennel & Caraway Sourdough on the side 🙂


